Unity2021から標準パッケージとなった”Visual Scripting(ビジュアルスクリプティング)”(旧Bolt)を使用して、スペースキーで弾を発射する大砲を作成する方法を紹介します。
完成動作
スペースキーを押下すると弾が発射される。
作り方
1.シーンに各オブジェクトを配置
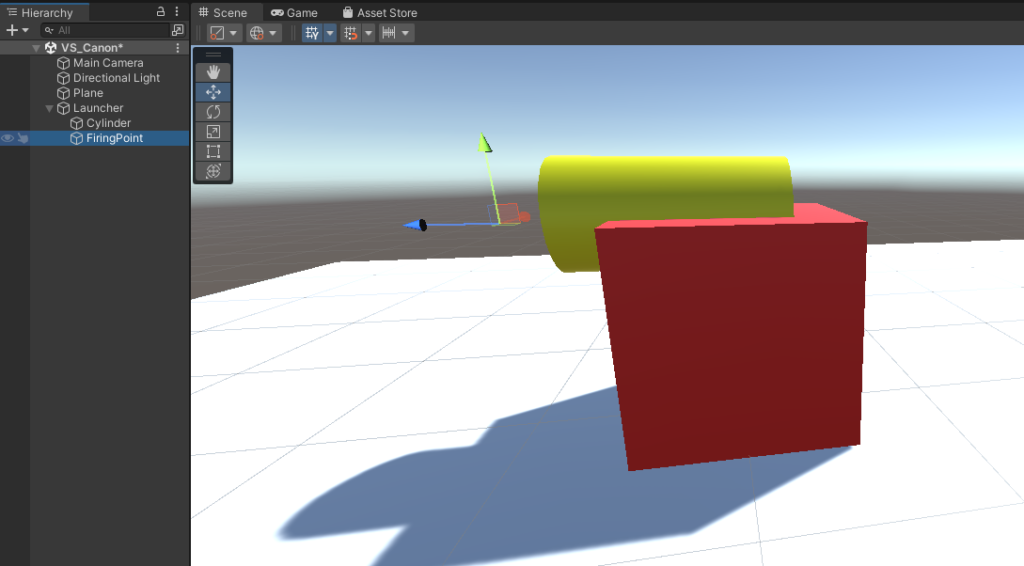
1-1.例として以下のように組み合わせて砲台を作ります。
親:Launcher(赤いCube)
子:Muzzle(黄色いCylinder)Z軸の方向を向くようにする。
子:FiringPoint(空のGameObject)Muzzleの先端らへんに作成。
2.弾を作成・Prefab化
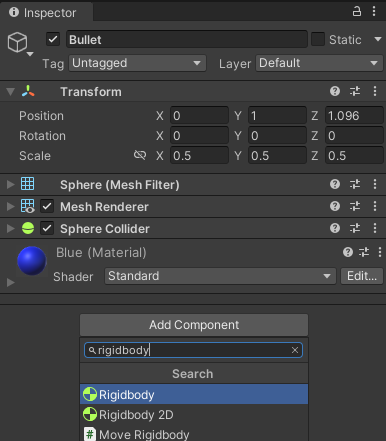
2-1.Sphereを作成して、”Bullet”という名前に変更する。
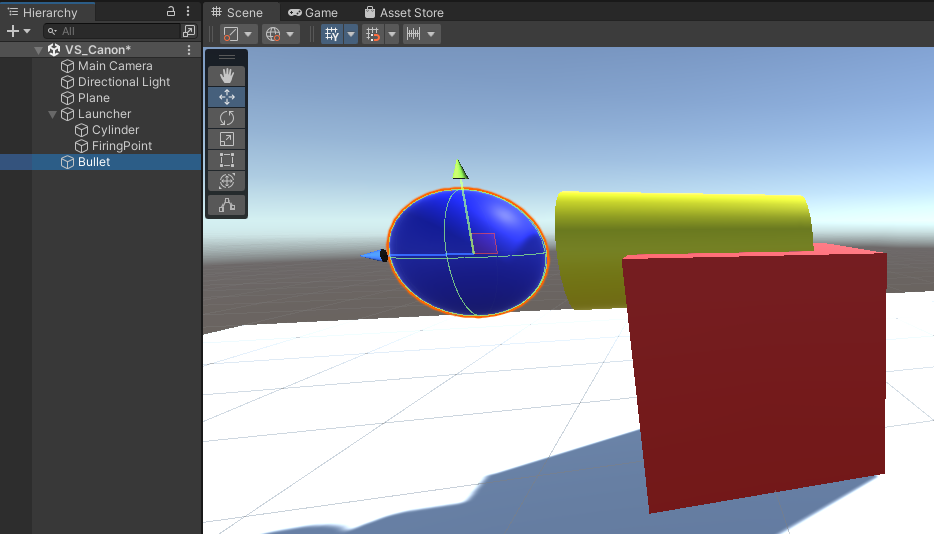
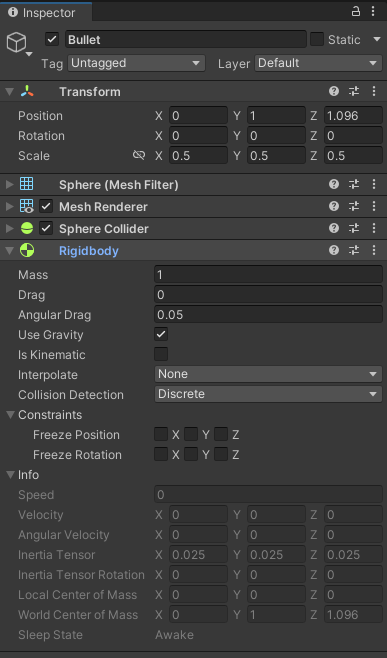
2-1.”Bullet”にRigidBodyを付ける。(弾が飛ぶ動作をRigidBodyを使って実装するため。)
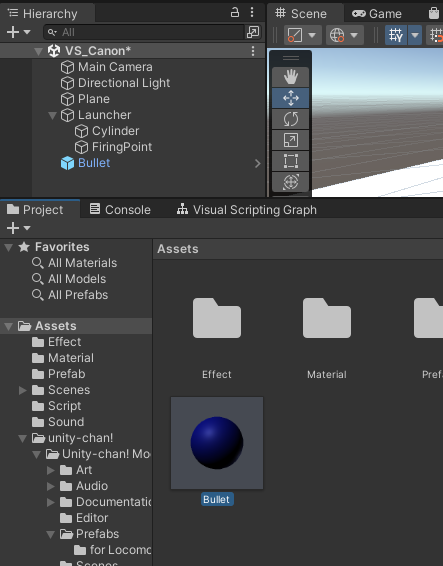
2-2.”Bullet”をProjectの任意の場所にドラッグアンドドロップしてPrefab化する。
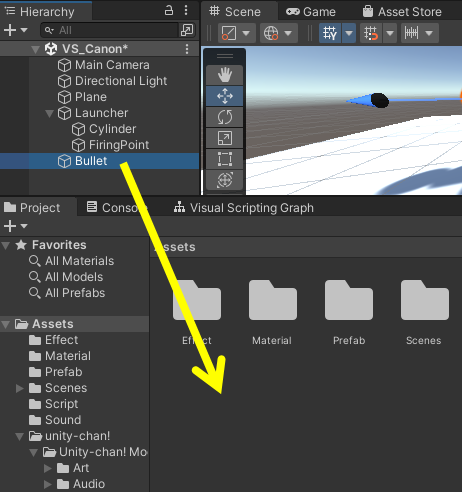
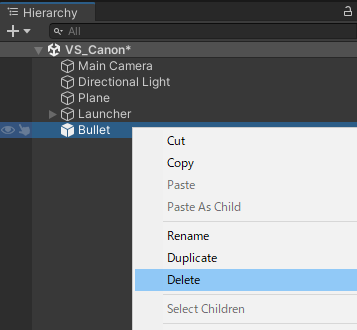
2-3.Hierarchy内のBulletオブジェクトはもういらないので削除する。
3.Launcherオブジェクトの設定
今回、スペースキー押下のイベントはunityの新しい入力システムパッケージのInput Systemを使用するのでそのためのコンポーネントを追加する。
※Input Systemパッケージをインストールしていない方は、Package Managerからインストールしておいてください。
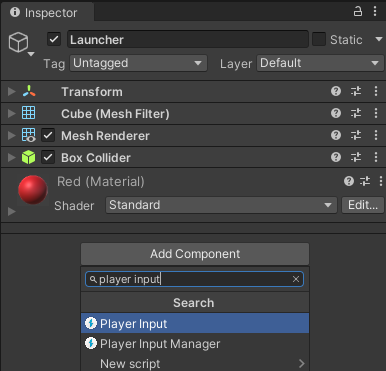
3-1.Launcherオブジェクトに”Player Input”コンポーネントを追加
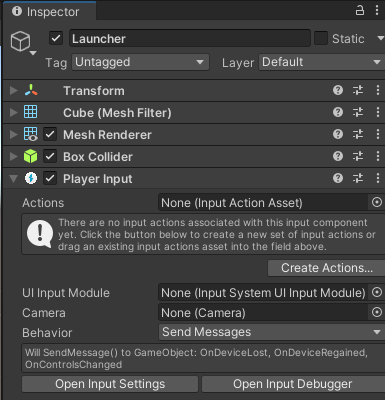
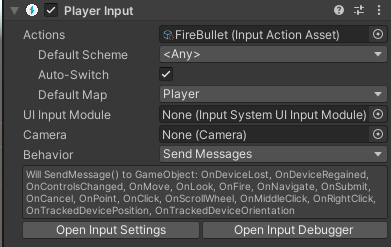
3-2.”Create Actions…”を押下して任意の場所に”FireBullet”という名前で保存
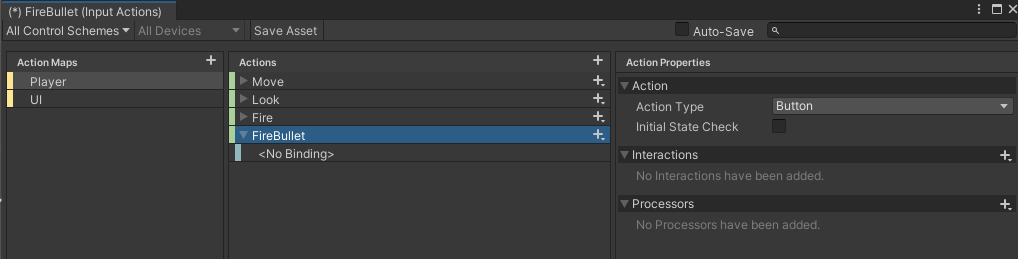
3-3.Actionsの”FireBullet(Input Action Asset)”をダブルクリック

以下のようなウィンドウが表示される。
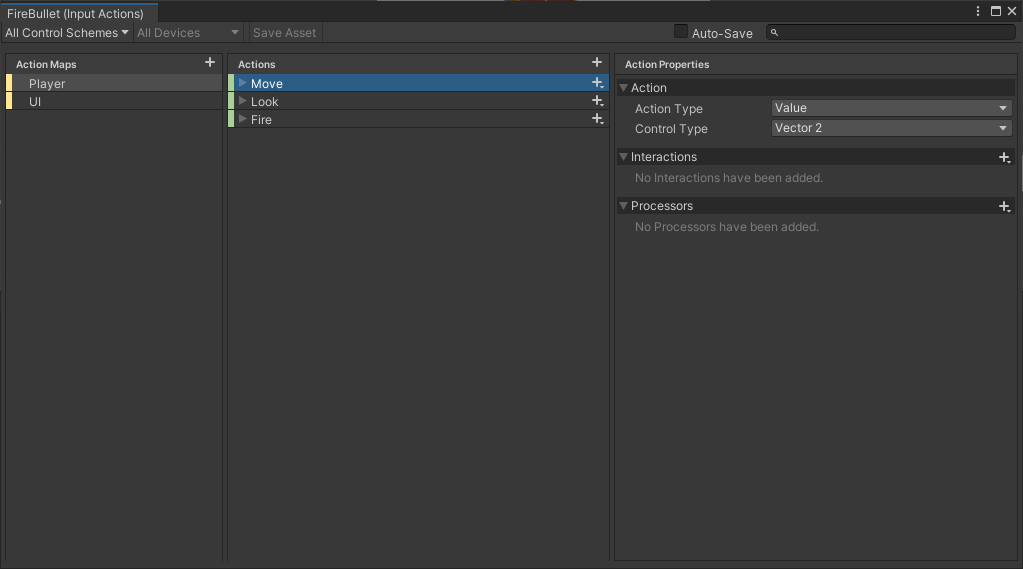
3-4.Actionsに”FireBullet”というアクションを作成
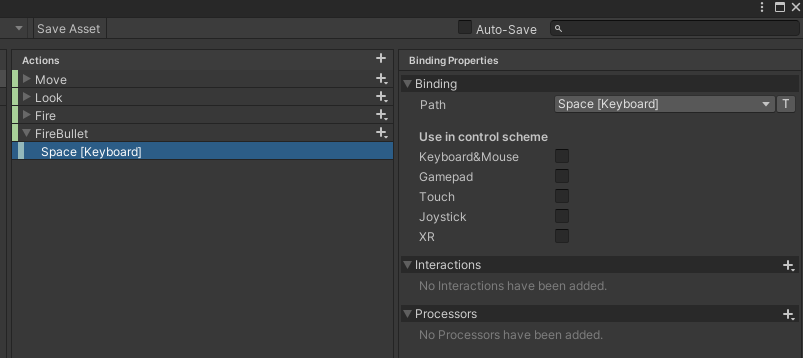
3-5.以下のようにスペースキーのプロパティを作成
3-6.”Save Asset”ボタンを押下して保存して閉じる。
3.スペースキーで弾を発射するビジュアルスクリプトを作成
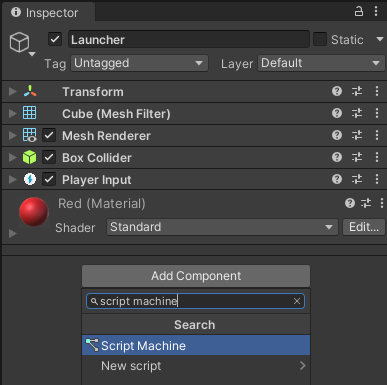
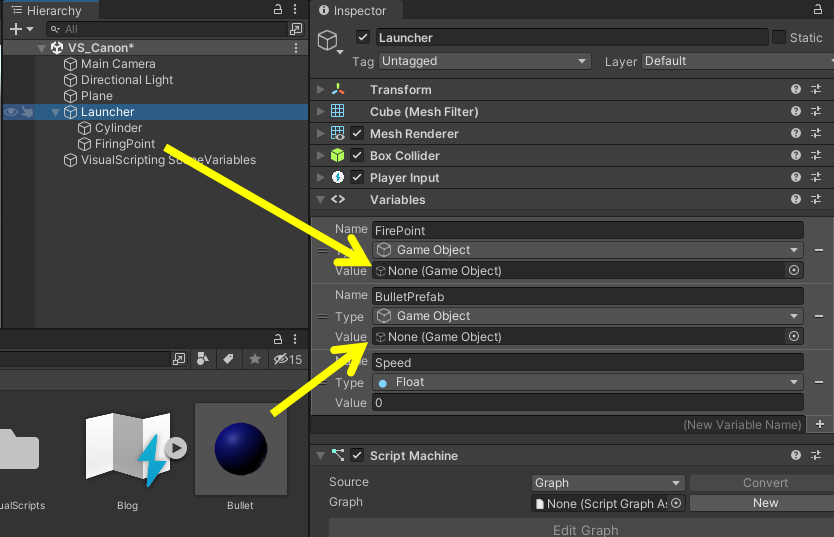
3-1.Launcherオブジェクトに”Script Machine”コンポーネントを追加
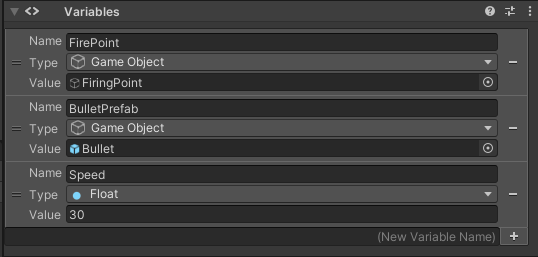
3-2.以下のような変数を作成
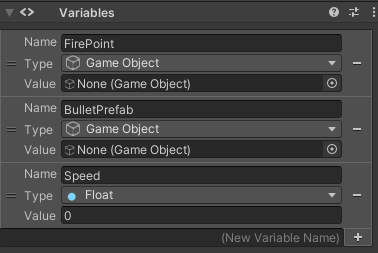
3-3.作成した変数のValueに以下のように値を入れる。
FirePoint変数には、HierarchyタブのFirePointオブジェクト
Bullet変数には、2-2で作成したBulletのPrefab
Speedは弾の速さなので任意の値を入れる。(今回は30を入れる。)
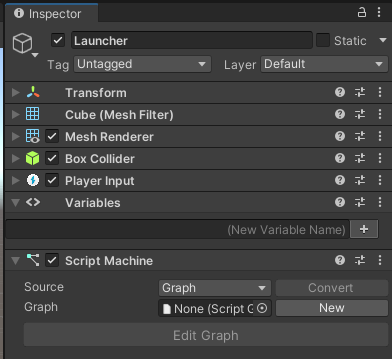
3-4.”Graph”プロパティの”New”ボタンを押下

3-5.ファイルの保存ダイアログが開かれるので任意の場所にFireBulletという名前で保存する。
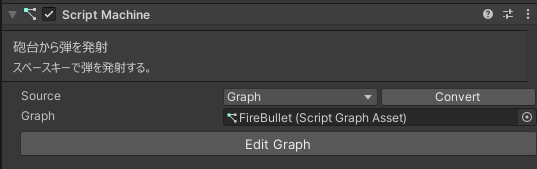
3-6.”Edit Graph”ボタンを押下して、以下のようにグラフを作成する。
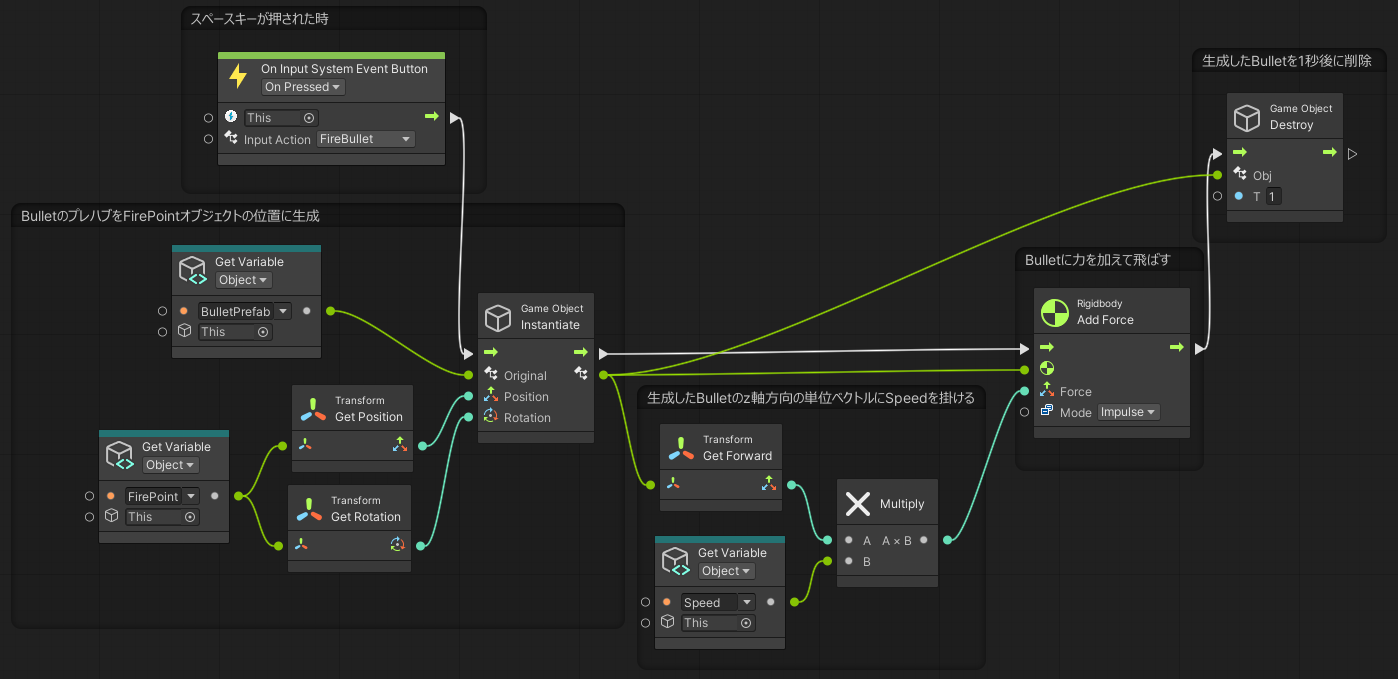
<3-6の補足>
Input Systemのユニット(今回は”On Input System Event Button”)を出すためには以下の設定が必要なので、出てこない場合は以下のブログを参考に設定を行う。
完成
これでスペースキーを押すと、弾が発射されるようになる。
コメント