Animation Riggingでプレイヤーがターゲットの方向をリアルタイムに見続けるようなアニメーションをするようにします。
※説明があっているかわからないが、Animation Riggingを使えば、既存のアニメーションの一部を上書きすることができる。(例えば、既存の正面を向いて歩くアニメーションに対して、Animation Riggingを行えば、頭はターゲットの方向を向いて歩くようにできる)
まだ”Animation Rigging”パッケージをインストールしていない方は、以下の記事を参考にインストールしてください。
プレイヤーとしては以下を使います。
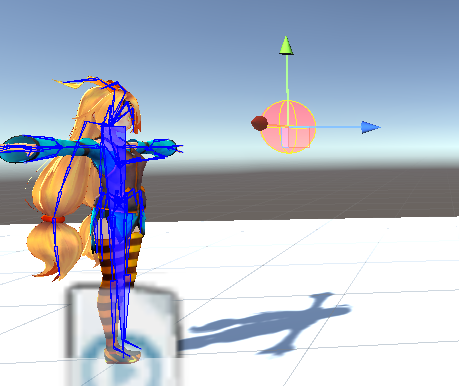
完成動作
ターゲットを動かすと、unity-chanがその方向を見ます。
※最後まで作成し、頭も上半身も動くようになったパターン
作り方
1.シーンに各オブジェクトを配置
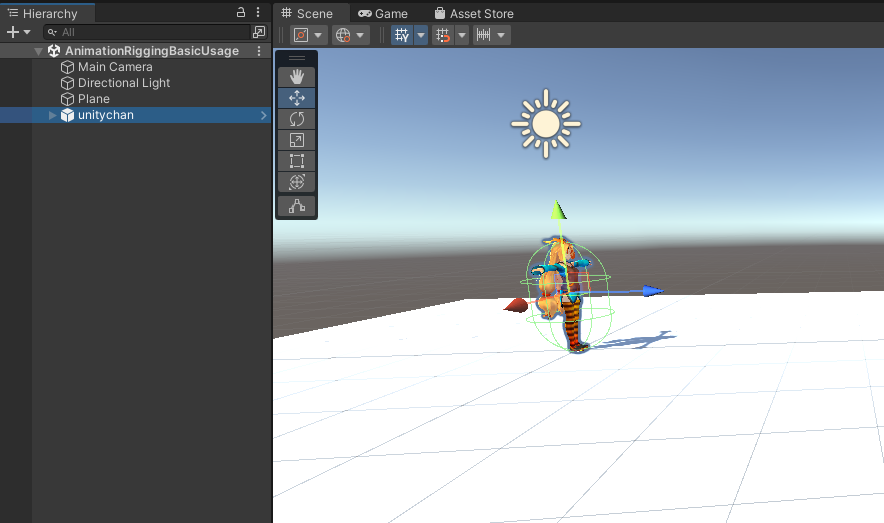
1-1.以下のように配置する。床をPlane、Animation Riggingを行うキャラクターをunity-chanとした。
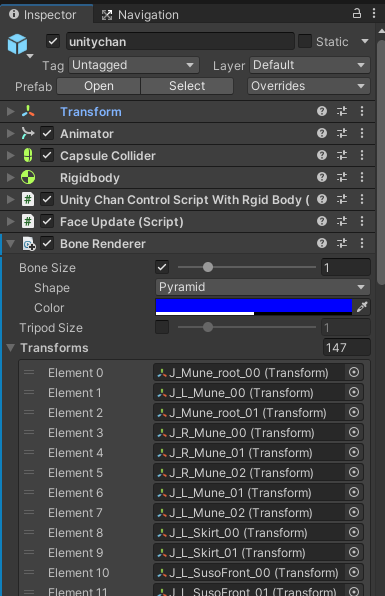
2.Bone Rendererコンポーネントをアタッチ
これは必須ではないが、Bone Rendererコンポーネントを付けると、スケルトン(ボーン)をシーンビューで視覚的に見えるように表示でき、また、シーンビュー上でボーンをマウスで選択して操作できるようになる。
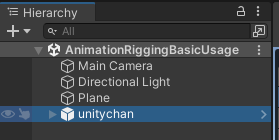
2-1.Hierarchyタブでunitychanを選択
2-1.上部のメニューの”Animation Rigging”→”Bone Renderer Setup”を押下

2-1.unitychanにBone Rendererコンポーネントが追加されることを確認
※このやり方でやると、Transformsプロパティに自動的に各ボーンが適用されるので便利
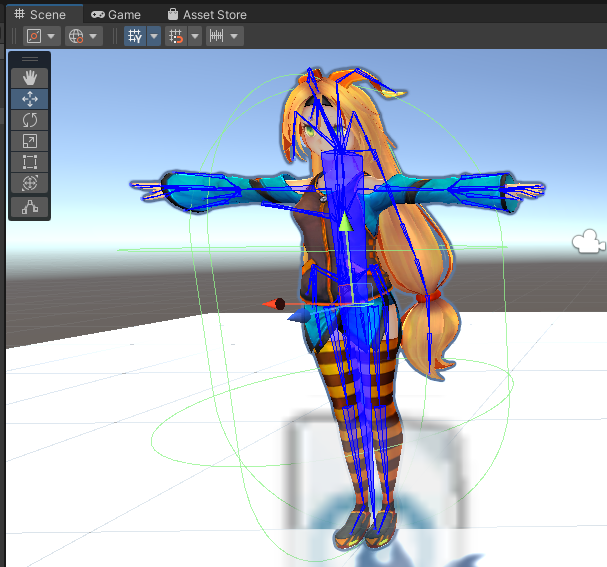
2-2.シーンビューを見るとunitychanに青い線でボーンが表示される。
3.Rig(リグ)を作成
3-1.Hierarchyタブでunitychanを選択
3-2.上部のメニューの”Animation Rigging”→”Rig Setup”を押下
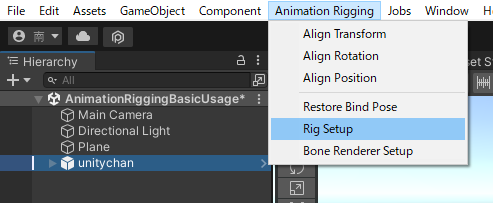
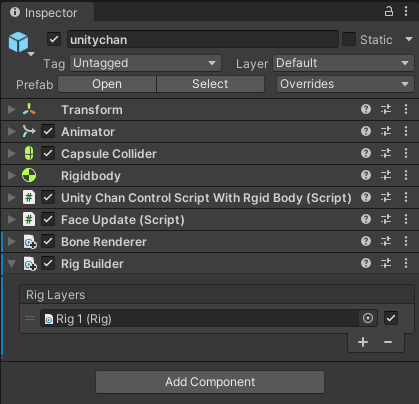
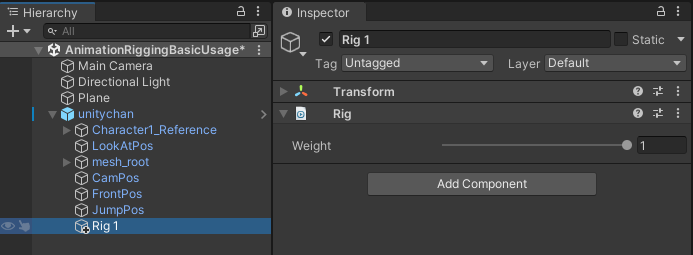
3-3.unitychanに自動的に”Rig Builder”コンポーネントが追加され、さらに、unitychanの子要素として”Rig 1″オブジェクトが作成される。
4.ターゲットを作成
unitychanの頭が向く方向の目印としてのターゲットを作成する。
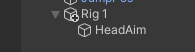
4-2.”Rig 1″オブジェクトの子要素に空のオブジェクト(Create Empty)を作成
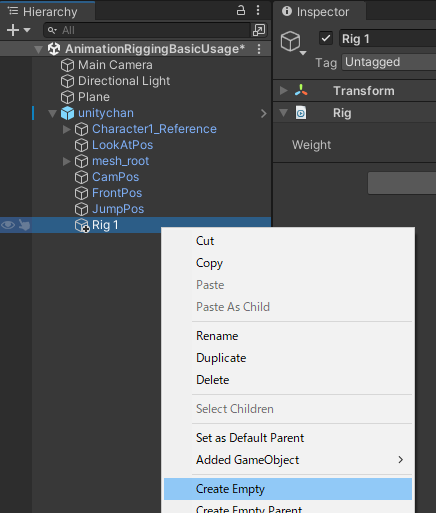

4-2.作成した空のゲームオブジェクトの名前を”HeadAim”にする。
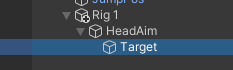
4-3.同様にして、”HeadAim”オブジェクトの子要素に空のゲームオブジェクトを作成し、名前をターゲットとする。
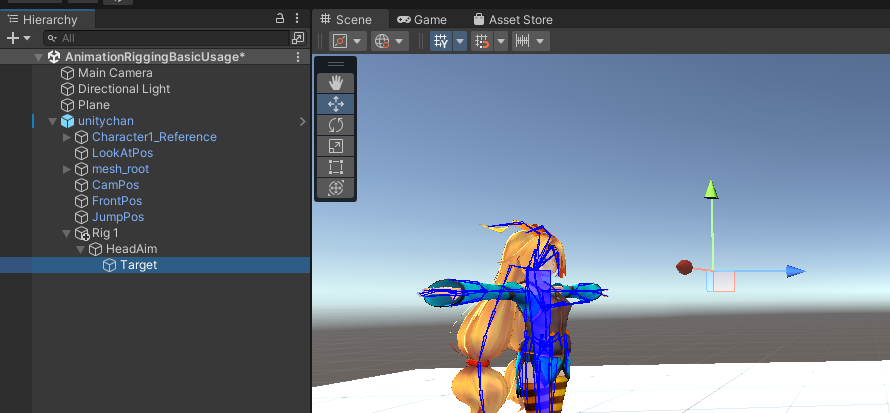
4-4.Targetオブジェクトの位置をunitychanの顔の正面辺りに移動する。
4-5.シーンビューの右下に表示されている、以下の項目の+を押下し、
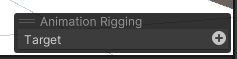
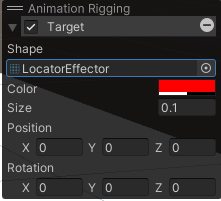
ShapeやSizeを以下のようにすると、
以下のように、Targetオブジェクトが赤い円状になり、見やすくなる。
5.unitychanの頭がターゲットの方向を見るように設定
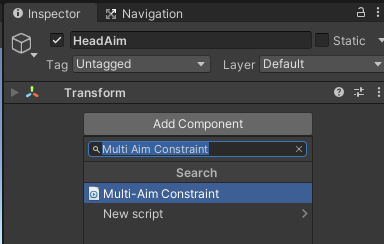
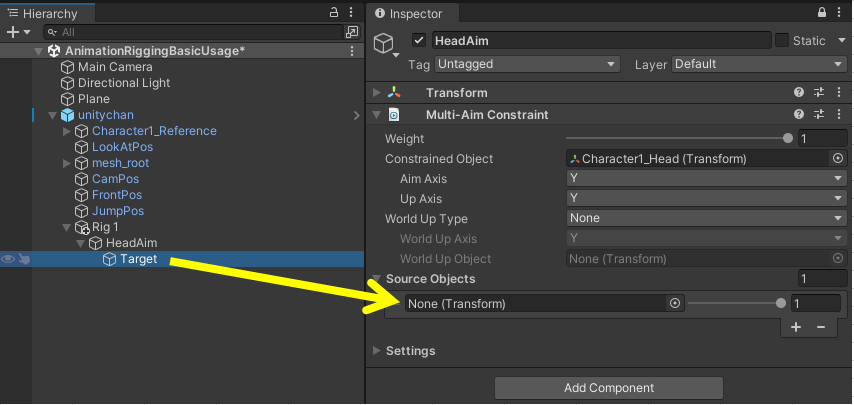
5-1.”HeadAim”オブジェクトを選択し、”Multi-Aim Constraint”コンポーネントを追加

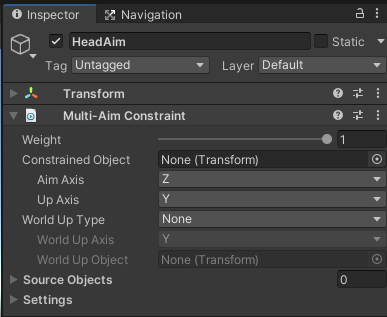
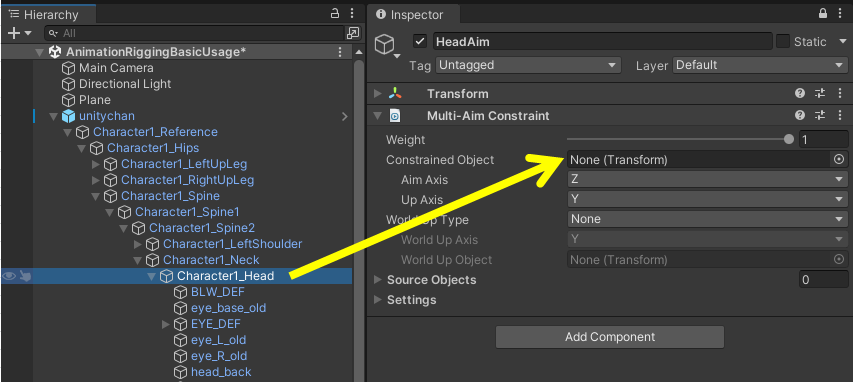
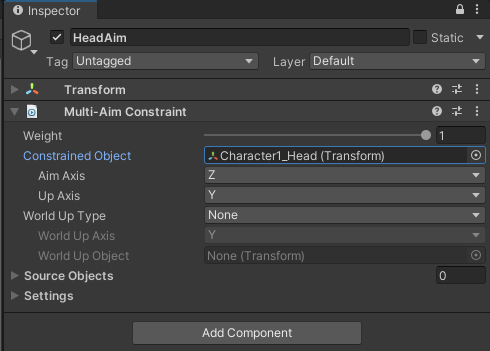
5-2.”Constrained Object”プロパティにunitychanの頭のオブジェクトをアタッチ
※unitychanの頭は、”Character1_Head”オブジェクトなのでこれをアタッチ
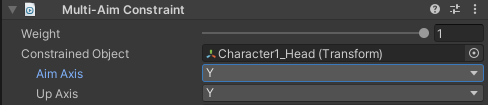
5-3.”Aim Axis”プロパティをYにする。
5-4.”Source Objects”プロパティに”Target”オブジェクトをアタッチ

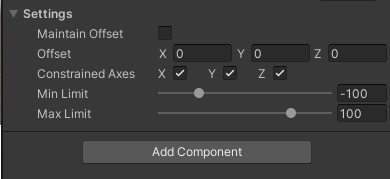
5-5.頭の回転できる角度を調整する。
デフォルトのままだと、ターゲットをunitychanの真後ろに持っていったりすると、頭がありえない角度になるので、調整する。
“Setting”プロパティ内の”Min Limit”と”Max Limit”を任意の値にすることで調整できる。
今回は以下のようにした。
6.実行して動作を確認
実行後に、シーンビューにして、”Target”オブジェクトを動かすと、unitychanの頭が”Target”オブジェクトを追いかけている。
※髪の毛も頭と同じように動くので不自然ではあるが、これの解消方法は私の今の知識では不明なので、いつかわかり次第追記します。
7.上半身も連動して動くようにする
ここまでの状態だと、頭のみがターゲットを追いかけるため、実際の人間の動作としては不自然なので、上半身も頭に連動して動くようにする。
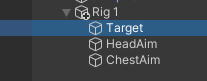
7-1.”HeadAim”オブジェクトを選択して、右クリック→Duplicateし、複製する。

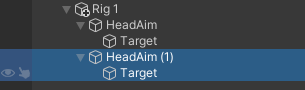
7-2.複製した”HeadAim (1)”の名前を”ChestAim”にし、その子要素の”Target”オブジェクトは削除する。
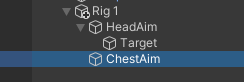
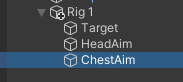
7-3.”HeadAim”オブジェクトの子要素の”Target”オブジェクトを”Rig 1″の子要素に変更する。
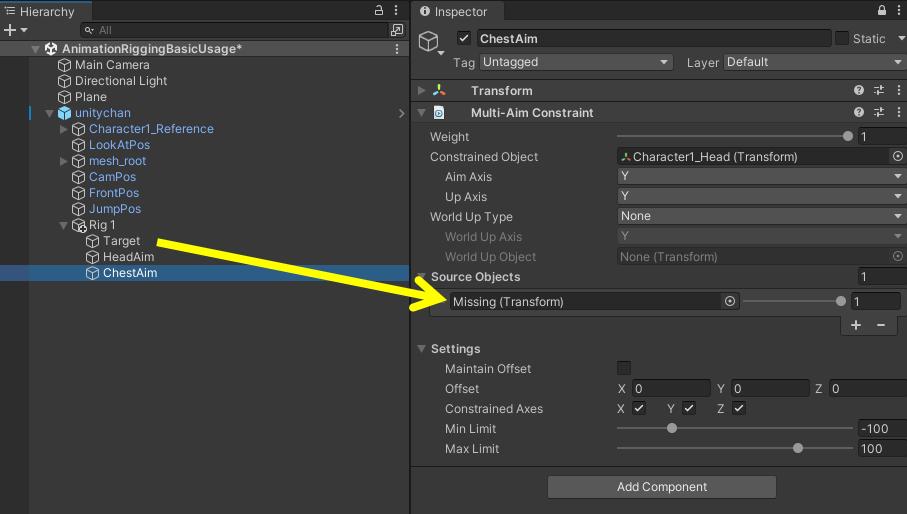
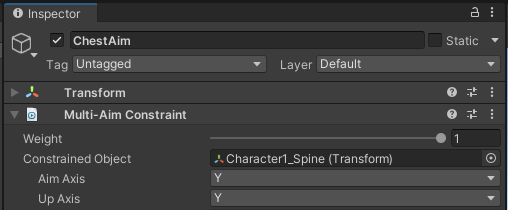
7-4.”ChestAim”オブジェクトを選択する。
7-5.”Source Objects”プロパティに”Target”オブジェクトをアタッチ

7-6.”Constrained Object”プロパティにunitychanの背骨のオブジェクトをアタッチ
※unitychanの背骨は、”Character1_Spine”オブジェクトなのでこれをアタッチ
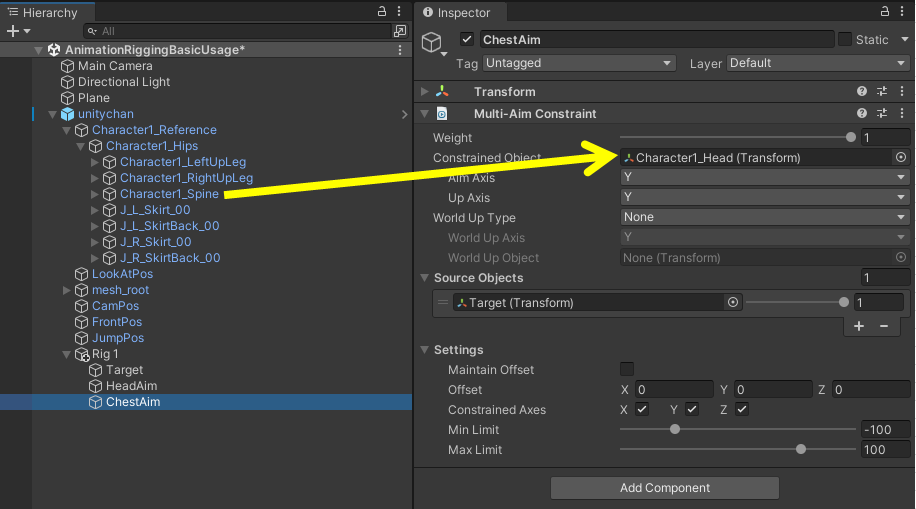
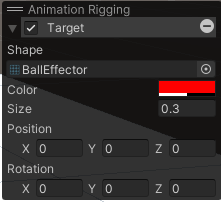
7-7.”ChestAim”オブジェクトの”Source Objects”プロパティのTargetのweightを0.3ぐらいにする。
この値を小さくすると、Targetの移動に対する、上半身の向く角度が小さくなる。
1だと、上半身が頭と同じだけ回転して不自然なので、0.3にして上半身はあまり回転しないようにした。

8.実行して動作を確認
実行後に、シーンビューにして、”Target”オブジェクトを動かすと、unitychanの上半身も”Target”オブジェクトの方向を向くようになっている。
コメント