Animation Riggingのインストールの方法と
Unity2021から標準パッケージとなった”Visual Scripting(ビジュアルスクリプティング)”(旧Bolt)のグラフにユニットを出す方法を紹介します。
Animation Riggingを使えば、スクリプトから操作することなく、Rig(キャラクターに動きを付ける際の仕組みやコントローラーのこと)を設定することで、アニメーションさせることができます。
1.Animation Riggingのインストール方法
1-1.Window→Pakage Managerを開く。

1-2.Packagesを”Unity Registry”にする。

1-3.右上の検索窓に”Animation Rigging”と入力すると以下のように出てくる。
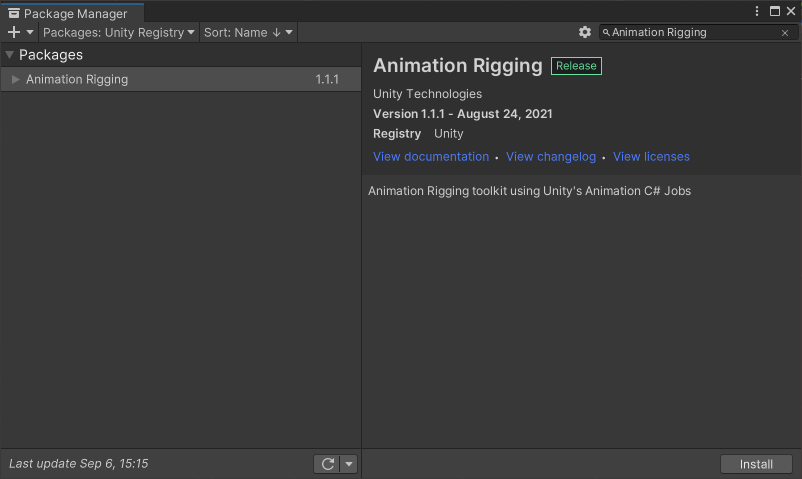
1-4.右下の”Install”を押下する。
1-5.上部のメニューに”Animation Rigging”が追加される。

2.Visual Scriptingのグラフに”Animation Rigging”のユニットを出す方法
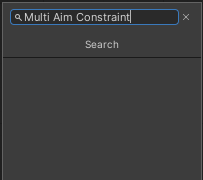
前提.”Animation Rigging”をインストールしただけの状態では、”Animation Rigging”のユニットは出てこないことを確認(例として”Multi Aim Constraint”を検索)
以下のように、該当するものは出てこない。
“Animation Rigging”のノードとタイプを追加する必要があります。
2-1.ノードの設定
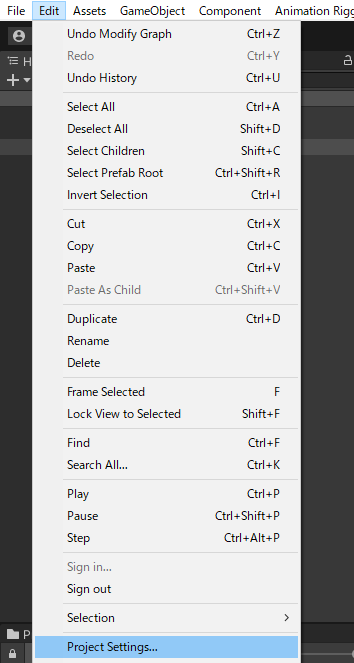
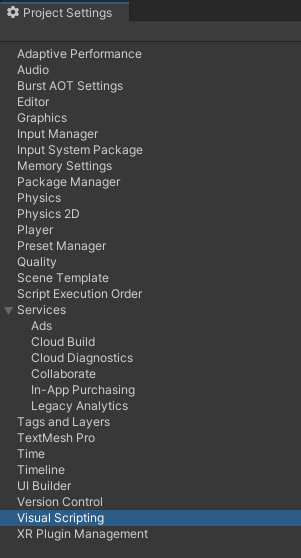
2-1-1.Edit→Project Settings…を押下
2-1-2.左の一覧から”Visual Scripting”を選択
2-1-3.”Node Library”の▶を押下して展開する。
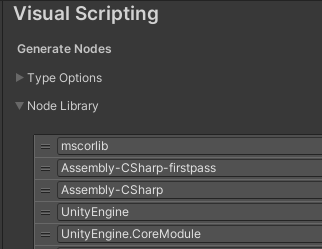
2-1-4.一覧の一番下にある”+”を押下

2-1-5.”(No Assembly)”が追加される。

2-1-6.右端の▽を押下し、検索窓に”Animation Rigging”と入力して、検索結果の”Unity.Animation.Rigging”を選択

同様にして、”Unity.Animation.Rigging.Editor”も追加する。
2-1-7.追加されたことを確認

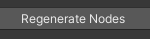
2-1-8.少し下の”Regenerate Nodes”を押下して変更を反映させる。
2-2.タイプの設定
2-2-1.”Type Options”の▶を押下して展開する。
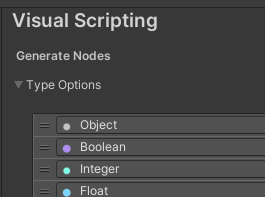
2-2-2.一覧の一番下にある”+”を押下

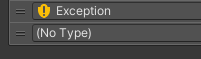
2-2-3.”(No Type)”が追加される。
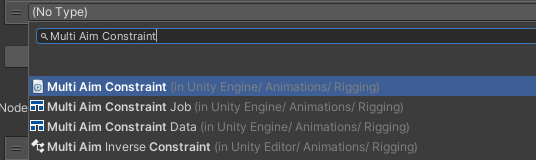
2-2-4.右端の▽を押下し、検索窓に追加したいタイプを入力すると出てくる(今回は例として”Multi Aim Constraint”と入力)
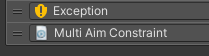
2-2-5.追加されたことを確認
2-2-6.少し下の”Regenerate Nodes”を押下して変更を反映させる。
このようにして、使用したいタイプを追加する。
設定は以上!
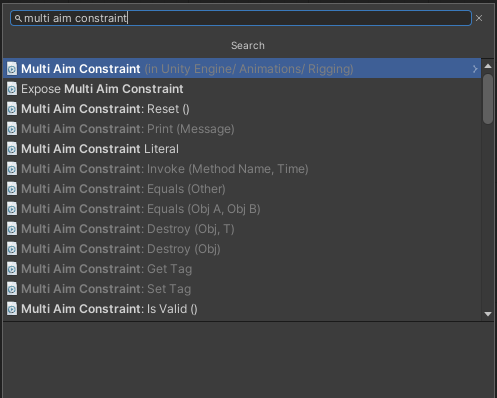
2-3.グラフにユニットが出てくることを確認
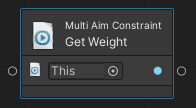
再度、グラフで”Multi Aim Constraint”で検索すると、上記で追加した”Multi Aim Constraint”関連のユニットが表示されている。
以上!
コメント