敵がプレイヤーを追いかけるようにしてみよう。
※Version: 2022.2以降を使用している方はBakeのやり方が変わっているので以下のブログを参照してください。
完成動作
作り方(動画)
作り方(ブログ)
敵を作る
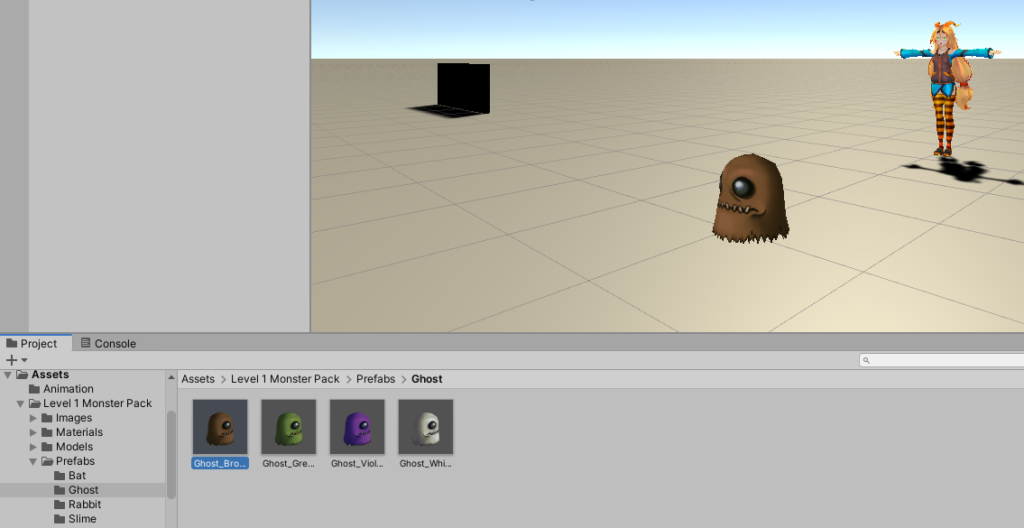
1.「Asset Store」から敵をインポートする(今回は例として「Level 1 Monster Pack」をインポート)
2.ステージに敵のPrefabを置く。
※この敵はデフォルトでは小さすぎるので、Scaleを調整する。今回は各Scaleを30にした。

※影がないので表示したい場合は、Hierarchyの以下のLV1をクリックして、
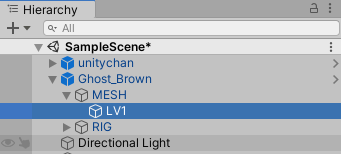
Inspectorウィンドウの以下のShaderの値を”Standard”にする。

各GameObjectを配置
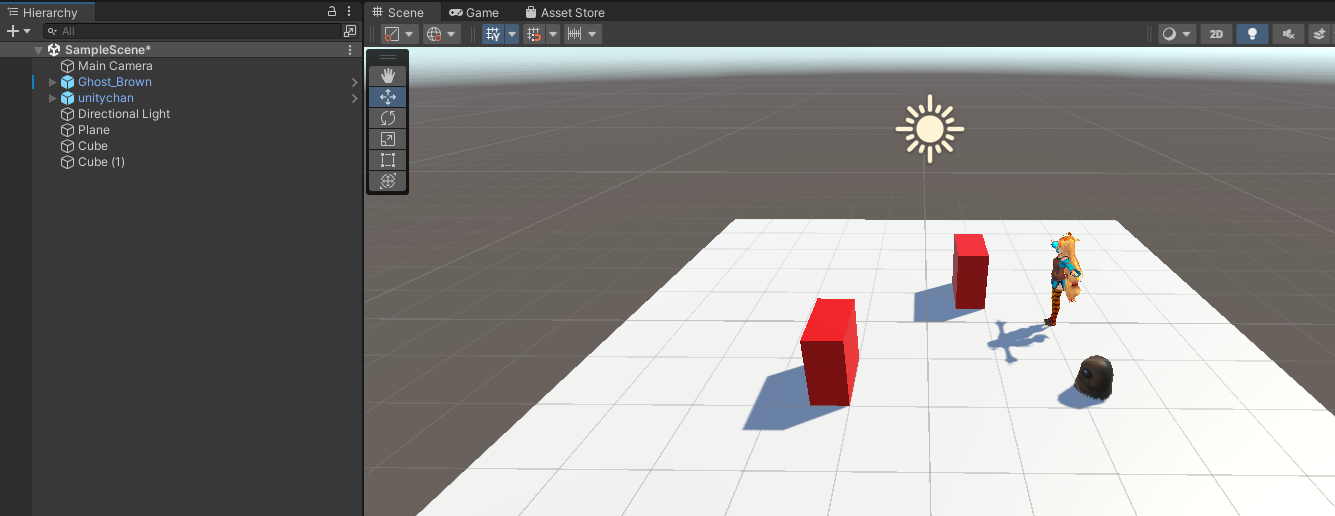
1.最終的に以下の画像のように配置する(プレイヤーとしては「Asset Store」から無料で入手できる「Unity-Chan! Model」を使用
NavMeshをベイクする
敵が動ける範囲をNavMeshというものを使用して、設定する。
これを使えば、途中に障害物があっても避けながら移動してくれます。
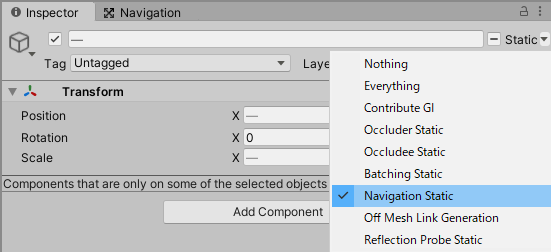
1.地形(移動可能な場所)や障害物を”Navigation Static”にする(こうしないとあとの手順の”Bake”ボタンを押しても反応しない)
こんな感じで地形と障害物を選択して、
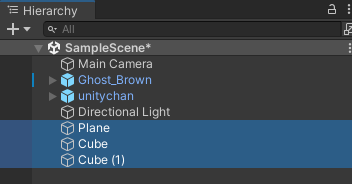
Inspectorウィンドウの右上の”Static”の▼をクリックして、”Navigation Static”にする。
2.以下の場所のNavigationをクリックしてウィンドウを表示する。
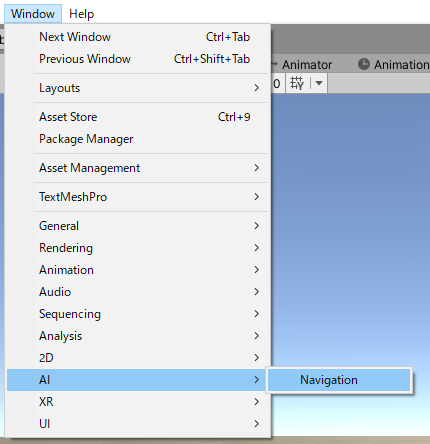
3.Navigationウィンドウの「Bake」タブを選択する。

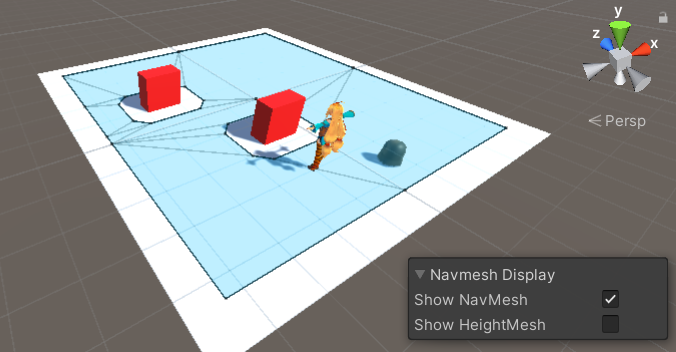
4.いろいろ設定値はあるが、今回はデフォルトのまま”Bake”ボタンを押す(設定値は各自で調べてください)
パソコンの性能によっては時間がかかる。

5.動ける範囲が青色で表示される。
敵にNavMeshAgentをアタッチする
NavMeshAgentをアタッチされた敵は、NavMeshでBakeした範囲の中を移動しながら目的地に行くようになる。
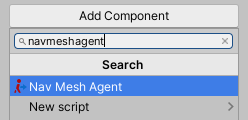
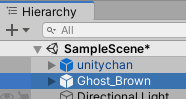
1.敵にNavMeshAgentをアタッチする。
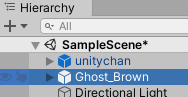
敵を選択
Inspectorウィンドウで”Add Component”ボタンを押下して、
“Nav Mesh Agent”を追加
“Nav Mesh Agent”の設定値を変えれば、移動速度や障害物回避精度を変えれるが割愛
敵がプレイヤーを追いかけるようにするスクリプトを作成
敵がプレイヤーを追いかけるようにするためのスクリプトを作成して、敵にアタッチします。
1.目的地(プレイヤ―の場所)を指定するスクリプトを作成
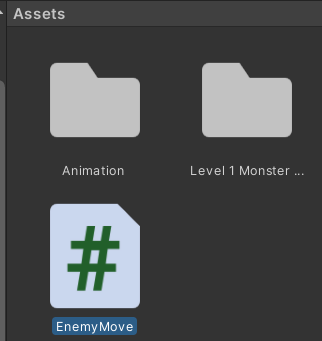
ファイル名はEnemyMove.csとする。
2.ソースは以下
using UnityEngine;
using UnityEngine.AI;
[RequireComponent(typeof(NavMeshAgent))]
public class EnemyMove : MonoBehaviour
{
    [SerializeField]
    [Tooltip("追いかける対象")]
    private GameObject player;

    private NavMeshAgent navMeshAgent;
    // Start is called before the first frame update
    void Start()
    {
        // NavMeshAgentを保持しておく
        navMeshAgent = GetComponent<NavMeshAgent>();
    }
    // Update is called once per frame
    void Update()
    {
        // プレイヤーを目指して進む
        navMeshAgent.destination = player.transform.position;
    }
}
3.EnemyMove.csを敵にアタッチする。
敵を選択する
EnemyMove.csをドラックアンドドロップでアタッチ
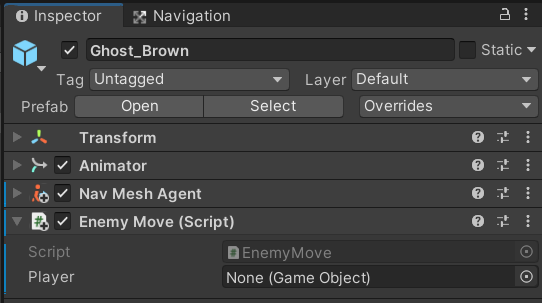
4.敵が追いかける対象のGameObject(今回はunitychan)をPlayerプロパティに入れる。

実行
これで実行すると、敵がプレイヤーを追いかけるようになる。
コメント
プレイヤーが空中にいたらこのAIは空を飛んでしまいますか?
プレイヤーが空中の場合は、AIは空には飛ばず追いかけてくれません。