GameObjectに色を付ける方法を紹介します。
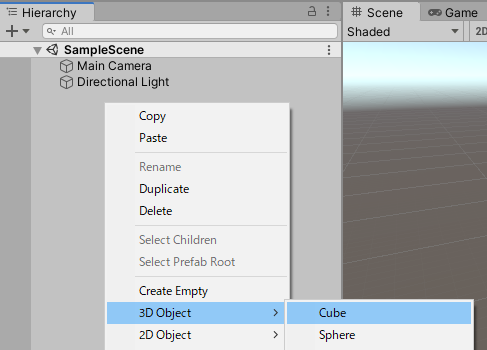
適当なGameObjectを作成
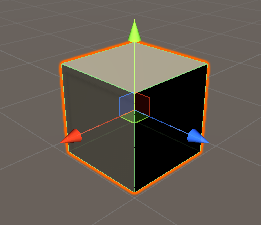
1.例としてCubeを作成。
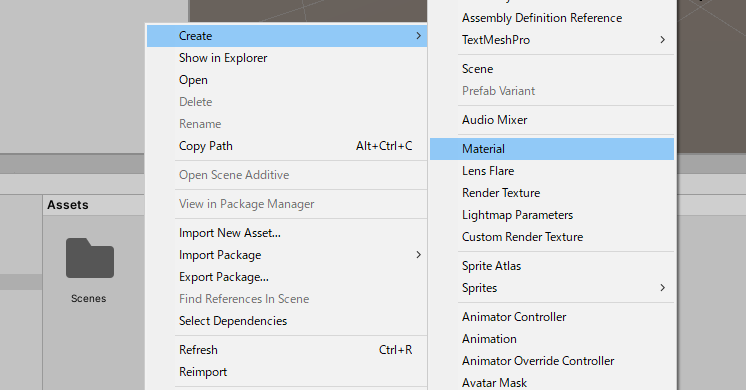
Materialを作成
1.Assetsの適当なところで右クリック→Create→Materialを選択。
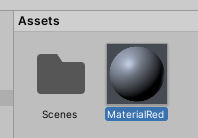
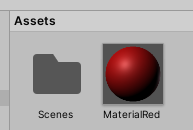
2.例としてMaterialRedという名前にする。
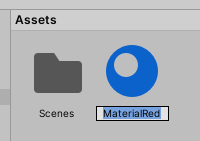
↓名前を確定したら以下のようなアイコンになる。
Materialの色を変更
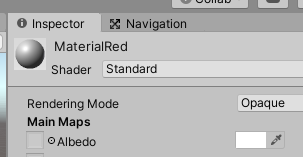
1.MaterialRedを選択してInspectorタブの”Albedo”の右の白い帯をクリック。
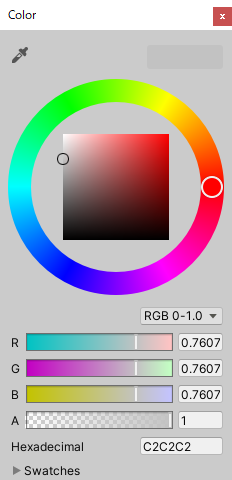
2.以下のような色を選択するウィンドウが出るので指定したい色にする。
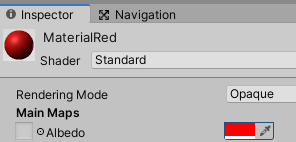
3.アイコンとAlbedoの右の帯の色が指定した色に変わる。
GameObjectにMaterialをアタッチ
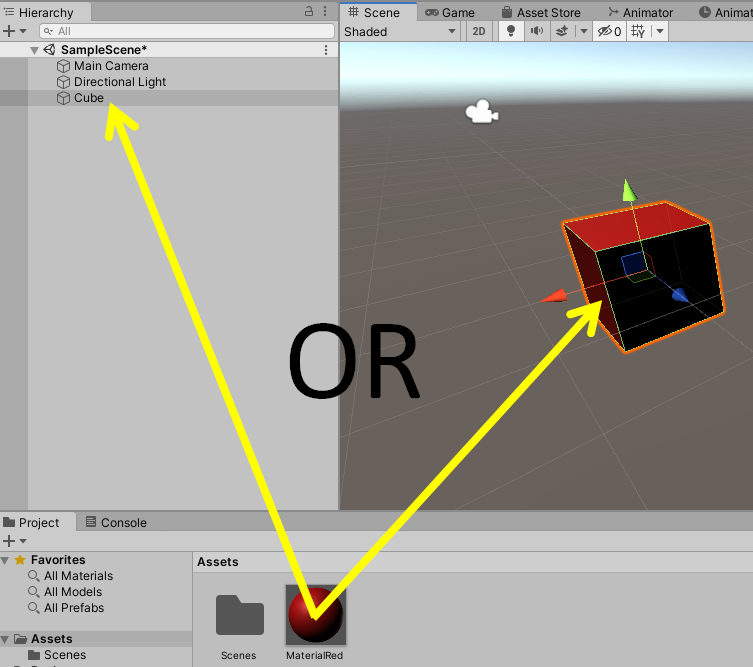
1.AssetsのMaterialRedをクリックしたままSceneタブのGameObjectにドラッグする。
※AssetsのMaterialRedをクリックしたままHierarchyタブの対象のGameObjectにドラックしても良い
完成
これでGameObjectに色がついた
コメント