概要
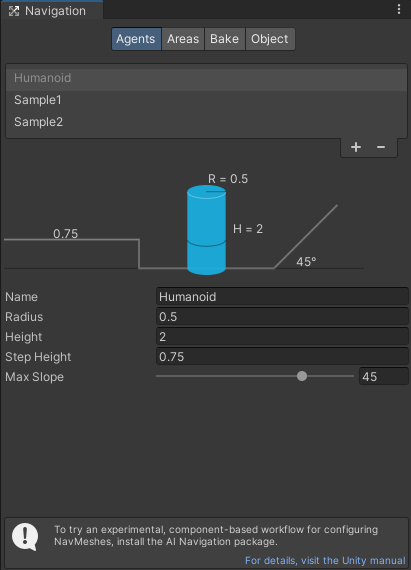
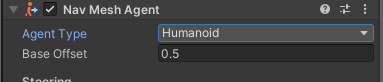
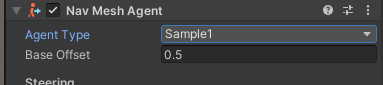
ナビゲーションシステムではAgentを複数作れる(以下の画像のHumanoidやSample1、2)が、
“Nav Mesh Agent”コンポーネントでHumanoid以外を選択して、
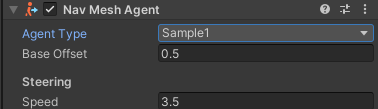
ゲームをスタートしても以下のようなエラーなどになりうまく動作しない。(NavMesh系の関数が動かない。
"SetDestination" can only be called on an active agent that has been placed on a NavMesh.解決方法
複数のAgent Typeを使い分けるためには”NavMesh Surface”コンポーネントを使用して、AgentごとにBakeする必要がある。
“NavMesh Surface”コンポーネントはまだ実験的なパッケージなのでデフォルトでは含まれておらず、別途Unityで使えるようにする必要があるのでその方法と使い方を紹介する。
1.”NavMesh Surface”コンポーネントのインストール
1-1.Window→AI→Navgationを開く
1-2.Navgationタブの一番下に記載されている以下の文章の「For details, ~」のリンクをクリック
※リンクとしては→https://docs.unity3d.com/2021.3/Documentation/Manual/NavMesh-BuildingComponents.html

1-3.リンク先のページのある以下の文章を読む。
※重要なのは、パッケージマネージャーから”com.unity.ai.navigation”パッケージを追加しろということ。

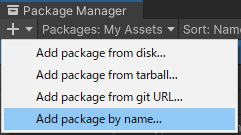
1-4.Window→Pakage Managerを開く
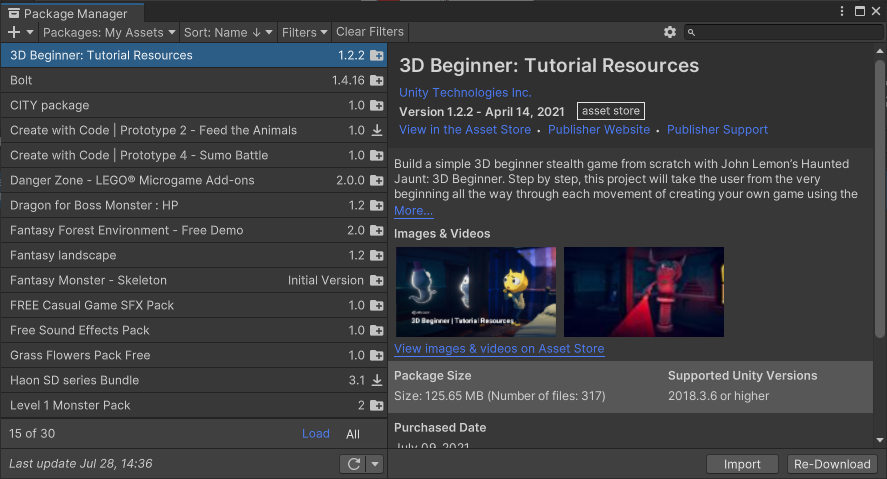
1-5.左上の「+」を押下し、”Add pakage by name…”を押下
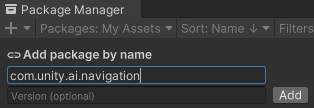
1-6.1-3に記載されていた”com.unity.ai.navigation”を入力して、Addボタンを押下
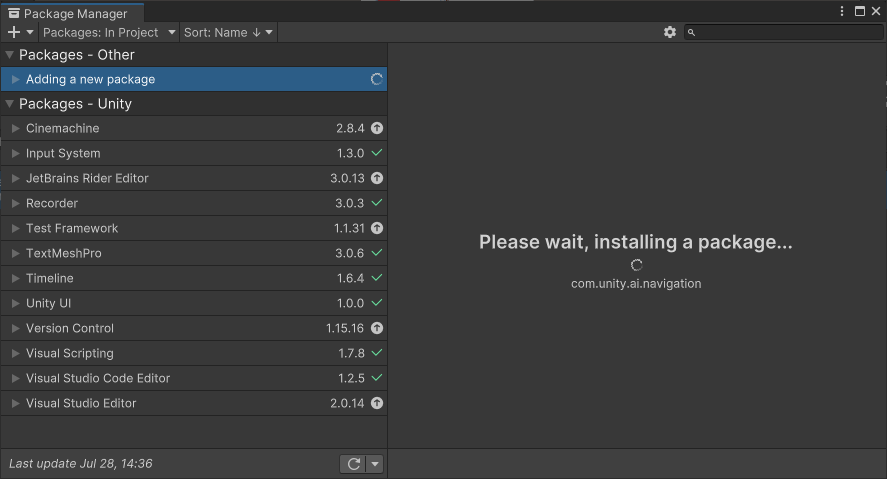
1-7.以下のようにインストールが始まるのでしばらく待つ。
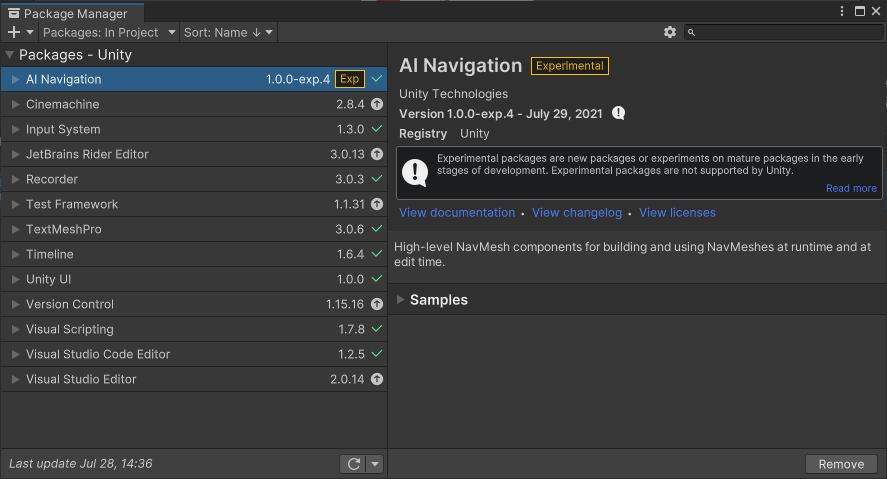
1-8.以下のような画面になり、NavMeshの追加のパッケージがインストール完了。これで”NavMesh Surface”コンポーネントが使えるようになった。
2.”NavMesh Surface”コンポーネントの使い方
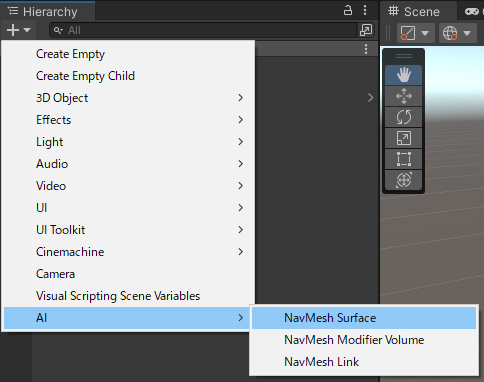
2-1.以下のようにして、”NavMesh Surface”オブジェクトを作成
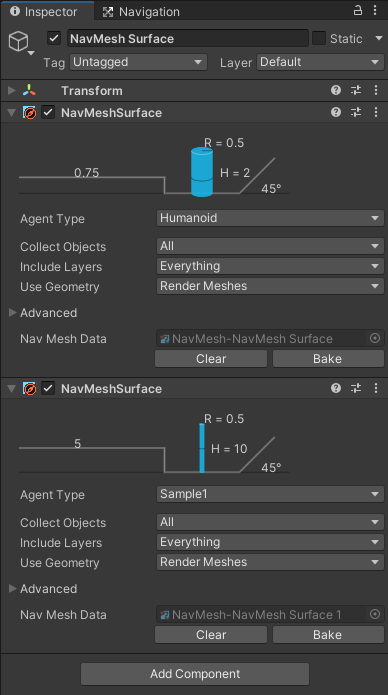
2-2.使用したいAgent Typeの数だけ、”NavMesh Surface”コンポーネントを追加して、それぞれの”Agent Type”を変更する。
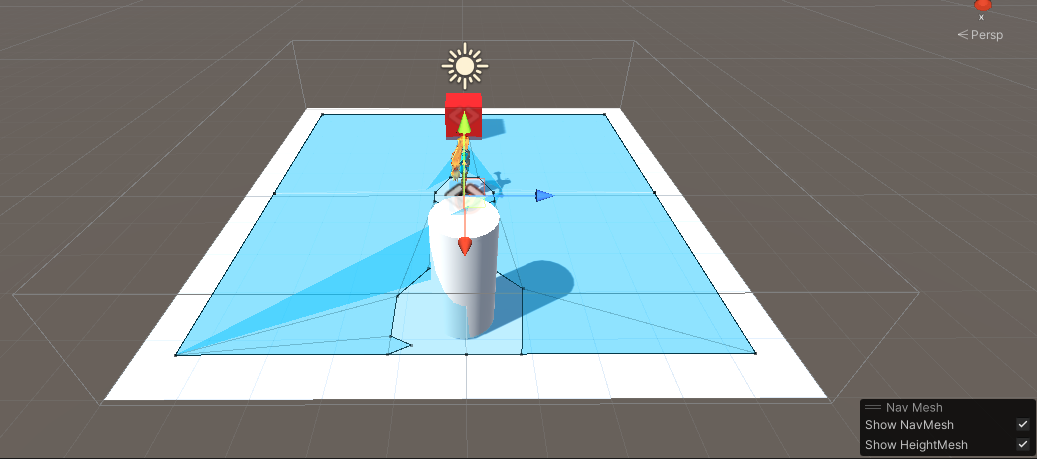
2-3.それぞれの”NavMesh Surface”コンポーネントにある「Bake」ボタンを押下すると、それぞれのAgent TypeごとのNav Meshのエリアが作成される(画面上は重なって表示されている)
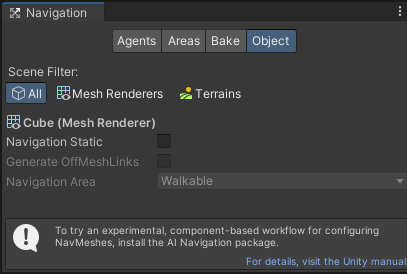
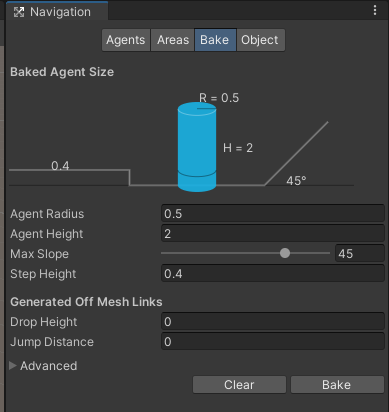
※NavigationウィンドウのBakeタブ(以下の画像のこと)からすでにBakeしている場合は「Clear」ボタンを押してクリアしておく。そうしないと、このNav Meshのエリアもゲームに反映されて想定外の動きになるため。
2-4.通常通り、経路探索などの設定を行い、”Nav Mesh Agent”コンポーネントなどの”Agent Type”プロパティの値を、使用したいものに変更する。
最後に
このようにして、複数のAgent Typeを使い分けてゲームを作れます!
コメント