Unity2021から標準パッケージとなった”Visual Scripting(ビジュアルスクリプティング)”(旧Bolt)を使用して、あるゲームオブジェクトが一定の範囲内に入ったターゲット(プレイヤーなど)を追いかけるようにしてみます。NavMeshを使います。
※こちらは以下の内容を行ったことを前提として進めます。
プレイヤーとしては以下を使います。
完成動作
ターゲット(unitychan)が一定の範囲内に入るとCube(赤)が追いかけています。
作り方
1.プレイヤーにタグをつける
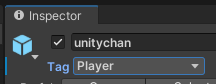
1-1.プレイヤー(今回はunitychan)のみを対象として敵が追いかけてくるように、プレイヤーに”Player”タグをつける。
Hierarchyウィンドウでプレイヤーのオフジェクトを選択して、InspectorウィンドウのTag欄で”Player”を選択する。
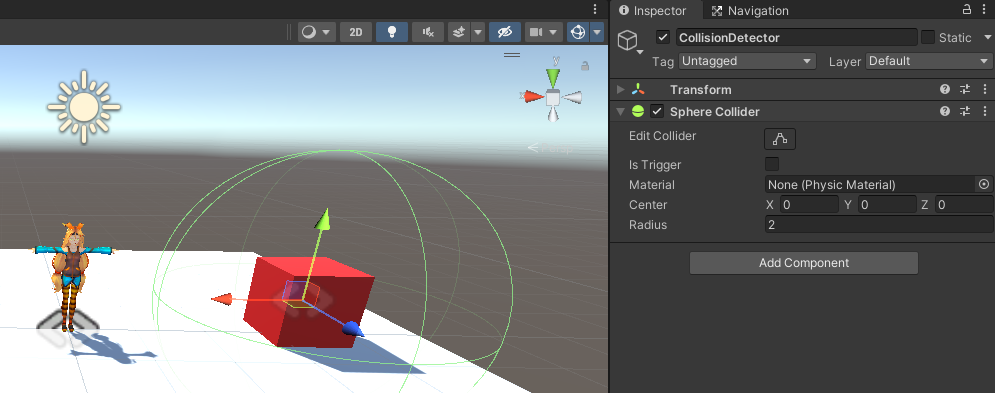
2.一定の範囲に入ったことを検知するためのColliderを設定する
2-1.HierarchyウィンドウでCubeオブジェクト上で右クリックをして「Create Empty」を選択して、空の子オブジェクトを作成する。
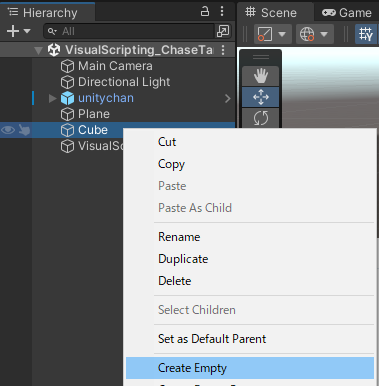

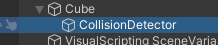
2-2.空の子オブジェクトの名前を「CollisionDetector」とする
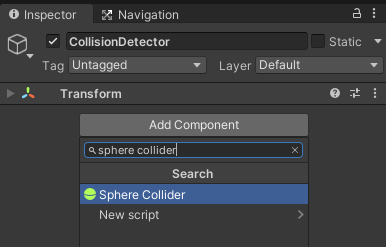
2-3.CollisionDetectorにSphere Colliderをアタッチする。

2-4.”Sphere Collider”コンポーネントの”Radius”プロパティを任意の値(今回は2)にし、どの範囲にターゲットが入れば追いかけるようにするかを設定する。
※”Sphere Collider”の範囲は、”Edit Collider”プロパティをクリックすると、以下の画面のように緑色の枠で表示される。
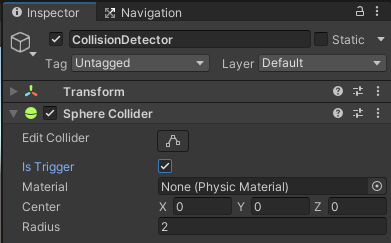
2-5.”Is Trigger”にチェックを入れる。
※”Is Trigger”にチェックを入れない場合、Collider同士がぶつかり跳ね返ってしまう。
チェックを入れるとすり抜けるようになる。
3.一定の範囲にターゲットが入ると追いかけるビジュアルスクリプトを作成
3-1.Cubeオブジェクトの”Script Machine”コンポーネントの”Edit Graph”を押下
3-2.グラフを以下のように修正する。

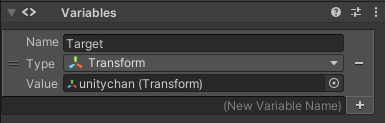
※以下の変数はもう使わないので消しても良い。
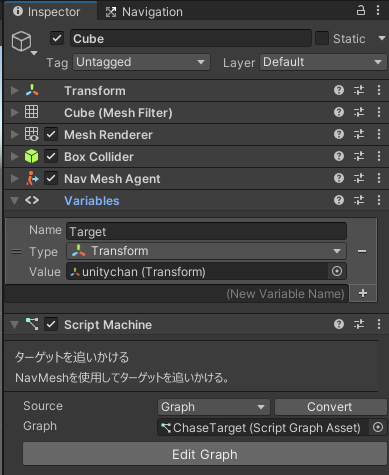
3-3.Cubeに”Script Machine”コンポーネントを追加
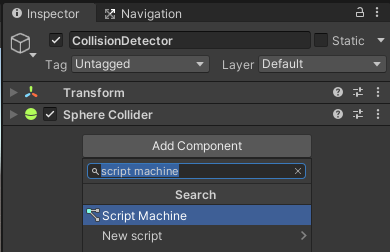
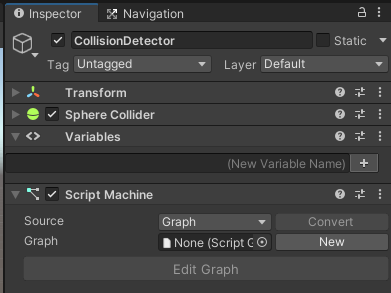
3-4.”Graph”プロパティの”New”ボタンを押下

3-5.ファイルの保存ダイアログが開かれるので任意の場所にCollisionDetectPlayerという名前で保存する。
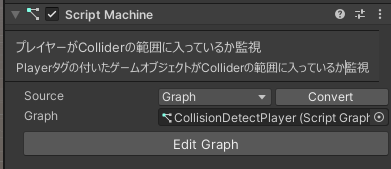
3-6.”Edit Graph”ボタンを押下して、以下のようにグラフを作成する。
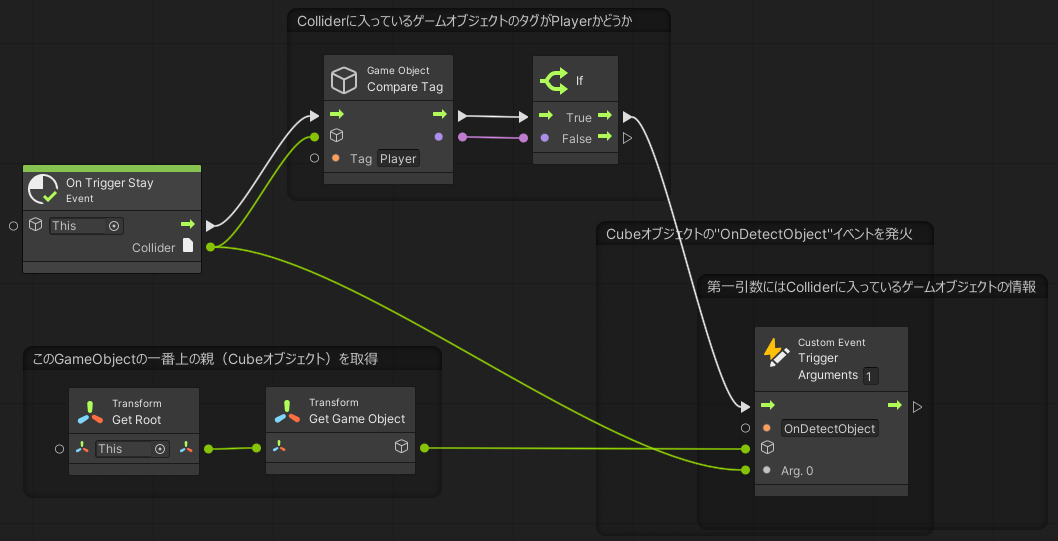
※補足
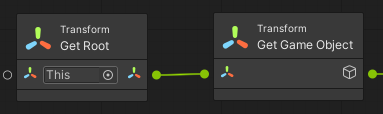
・以下のユニットで一番上の親のゲームオブジェクトを取得できる。
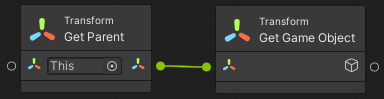
一つ上の親のゲームオブジェクトを取得したい場合は以下のようにする。
完成
これで実行すると、Colliderの範囲内にターゲット(unitychan)が入っている場合のみ、Cubeが追いかける。
コメント